Guide
The perfect Game Boy display: BlackBerry IPS LCD for your Color console
by Martin Jud
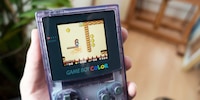
Although Nintendo's competition appeared to offer better hardware, the Game Boy and Game Boy Color sold over 118 million units in the 1990s – more than any other mobile console. But the devices lack an illuminated display. Luckily, in 2020, help is at hand.
When Nintendo released the first Game Boy in 1989, nothing could rival the overwhelming success of Tetris, Mario and Zelda. In 1991 Sega introduced the Game Gear, which is technically superior thanks to its illuminated colour display. But the lack of good games and unfair advertising in the USA meant that colour mobile consoles would never achieve the popularity that Nintendo still enjoyed with its simple mobile consoles.
Seven years later, Nintendo launched the Game Boy Color, its first mobile console with a colour display, but lacking an illuminated one similar to the Game Gear. And with good reason; in the 1990s, displays weren't yet illuminated with LEDs, but with cold cathode fluorescent lamps. These consume a lot of power, which is why Nintendo opted for longer battery life and against an illuminated display.
Time to take the power back.
If you want to upgrade the display of a Game Boy Color using a backlight, there are several options. You can replace the existing display with one from a Game Boy Advance SP. However, it also requires an additional adapter cable and around CHF 80.– The cheaper option is to replace the display with a new backlit colour LCD display from China. Their quality has apparently massively increased through the years. In our case, this amounts to about CHF 40.–
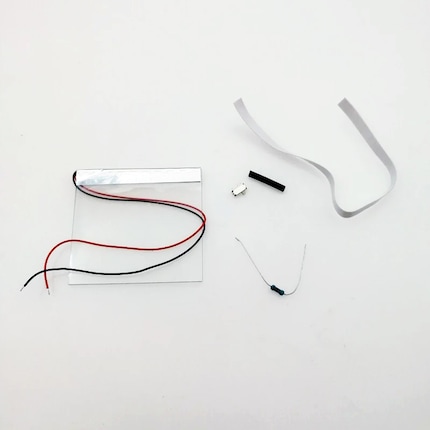
The only way to make it even cheaper is to modify the existing display. But unlike the Game Boy and Game Boy Pocket, the Game Boy Color display cannot be upgraded with a backlight for technical reasons. The Game Boy Color only supports front lighting. And that's exactly what I'm gonna do this Teardown. Which is why I procured the following things:
To take the Game Boy Color apart, I loosen six screws on the back of the case. Two of them are hidden in the battery compartment.
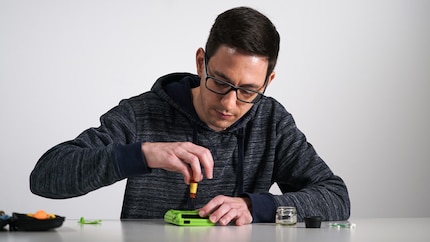
Now the back of the housing can be removed. The motherboard, which appears underneath, is attached with another three screws. In addition, the ribbon cable of the display is plugged into an interface at the very top. Remove this by operating two small plastic sliders, sliding a screwdriver under the cable and gently pulling it out.
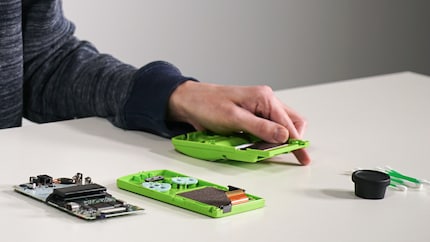
Once the cable and motherboard are removed, conductive silicone pads, the control pad, the buttons as well as the display, which is firmly slotted into the housing, are located underneath. To take it out, carefully bend the front of the case.
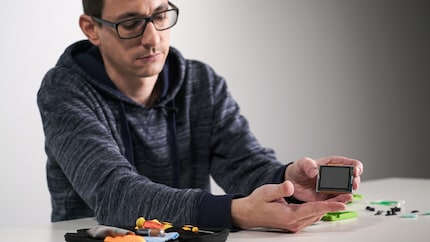
Armed with rubbing alcohol, I first clean all the components. The conductive silicone pads, which provide contact between the control pad/buttons and the motherboard, are all still intact. Kind of a shame, I'd bought replacements for everything. Still, the display protector is badly scratched. At least I can replace this one. Naturally, I'm giving my Game Boy Color a glass upgrade that's more resistant than the original plastic film.
To light up the display, the LED front light must be put into place. According to the manufacturer, the light can be laid over the display without glue. However, I already tried this on an earlier attempt. I wasn't convinced by the result. The illuminated image appeared milky and somewhat blurred.
I therefore procured some LOCA (Liquid Optically Clear Adhesive). As the name states, it's a liquid and translucent adhesive for displays that hardens under UV light.
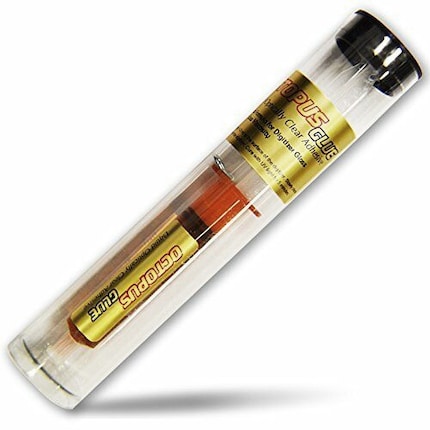
Unfortunately, I'm a LOCA beginner. A Youtube video told me I should put a thin cross of glue on the display before I attaching the LED foil, then wait for gravity to do the rest. But in practice this is easier said than done.
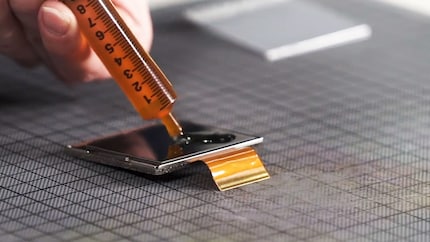
While I'm not paying attention, too much glue spills onto the display. Nevertheless, I stupidly put the front lighting on top of it, before I quickly realise my mistake – so I wipe off some of the LOCA and remove the LED foil before putting it back on again. Unfortunately, this creates some small air bubbles that can only be removed by repeatedly squeezing the foil.
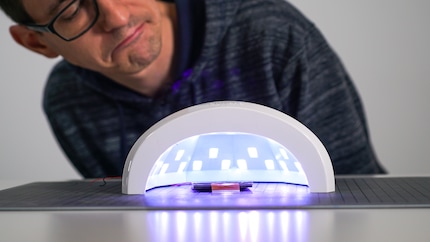
Now the glue must be hardened under UV light. First impressions are promising.
Now all parts can be put back into the housing. However, the display no longer fits into the socket due to the front light cables. A small piece of plastic must be removed. This can be done using sandpaper or an electronic grinder. Fortunately, my colleague Kevin has his Dremel at hand and helps me mill a groove.
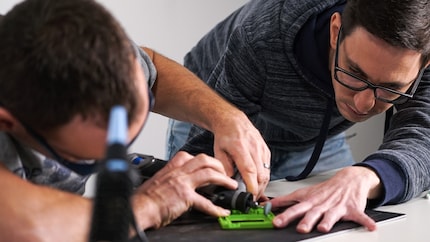
A few moments later, the display, buttons, silicon pads and motherboard are back in the case. I pass the lighting cables between the buttons and pull them to the back of the board next to the speaker.
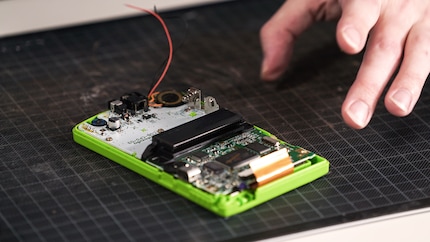
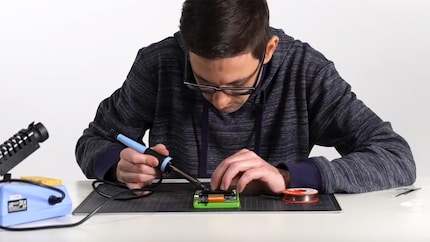
I grab the soldering iron and touch the resistor to the positive pole first. Then I solder the two cables to the resistor and the negative pole of the board before closing the case.
The result is better than in my first test, where I attached the front light without LOCA as indicated by the manufacturer. This display looks much sharper. Compared to an unmodified display, it's only slightly fuzzier. But my modification doesn't make me very happy; when gluing on the front light I apparently didn't pay enough attention and still couldn't get rid of all air bubbles. There are still a few, which annoys me greatly. But it motivates me to do everything better next time.
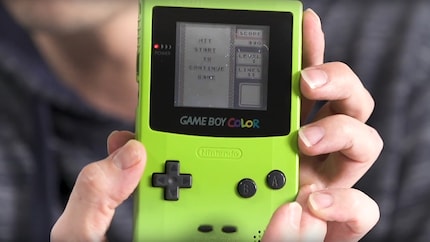
As far as the lighting is concerned, it's relatively weak. So weak you won't notice it until nightfall. But it's doing its job – you can now game in the dark. At least there's one glimmer of hope.
I find my muse in everything. When I don’t, I draw inspiration from daydreaming. After all, if you dream, you don’t sleep through life.
Practical solutions for everyday problems with technology, household hacks and much more.
Show all