
Product test
Hydro X Series: What's Corsair's entry into custom watercooling? Part 1
by Kevin Hofer

The GPU block rocks, the pump/reservoir combo and the CPU block could be better. But how good is Corsair's custom watercooling equipment when installed and how well do the parts cool?
A crack in a tube, a forgotten cable and a flow sensor that turns more poorly than good. You can read about this and what else I experienced when assembling the Hydro-X-Series from Corsair in the second part of the review.
If you missed the first part, you can read it via the link below.
I install the Hydro-X-Series with my existing components in the Fractal Design Meshify S2 case. My existing components are:
In addition, there are four Corsair LL140 fans and three Thermaltake Riing fans (120s).
I use the following components from the Hydro-X series:

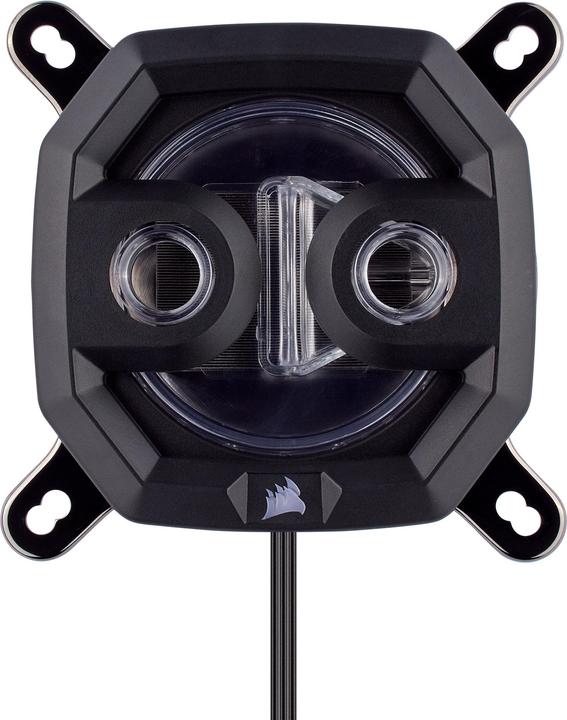
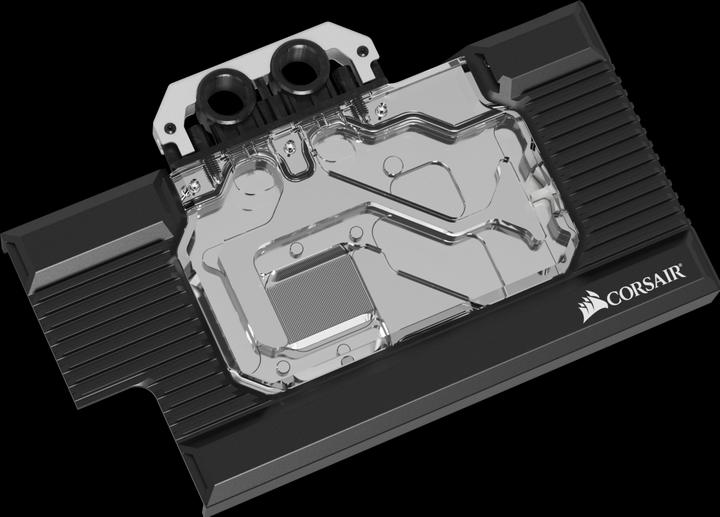
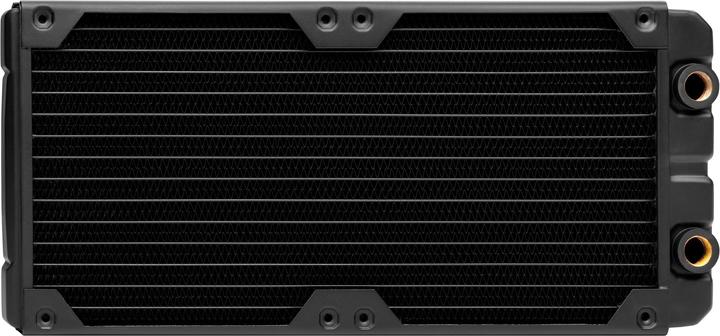

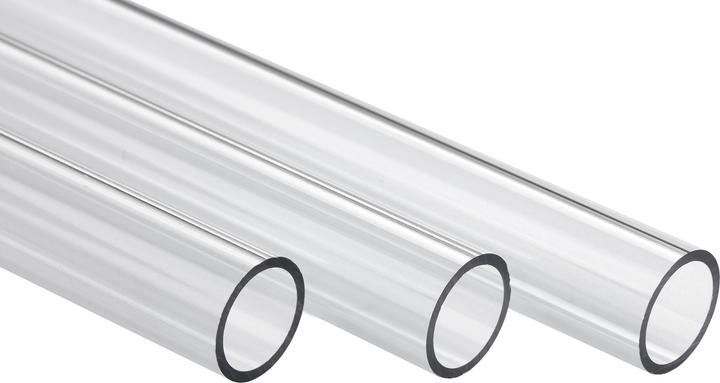
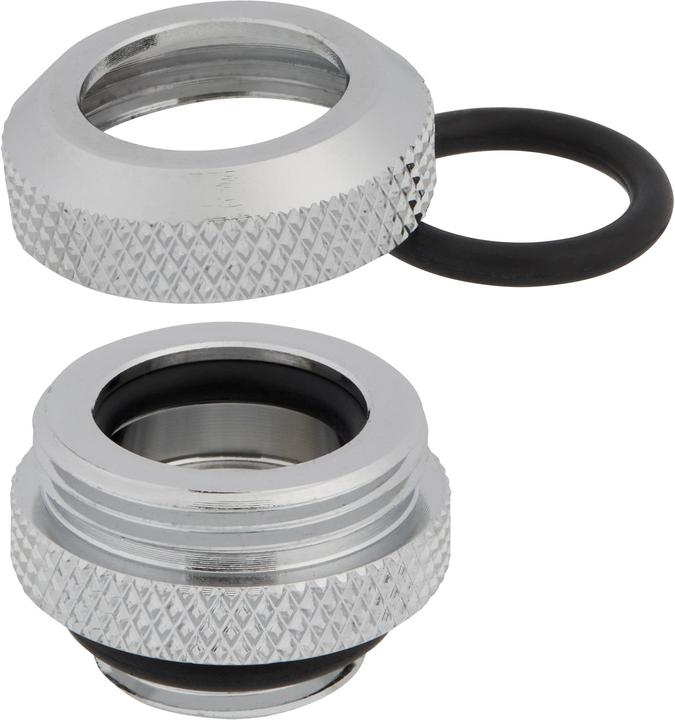
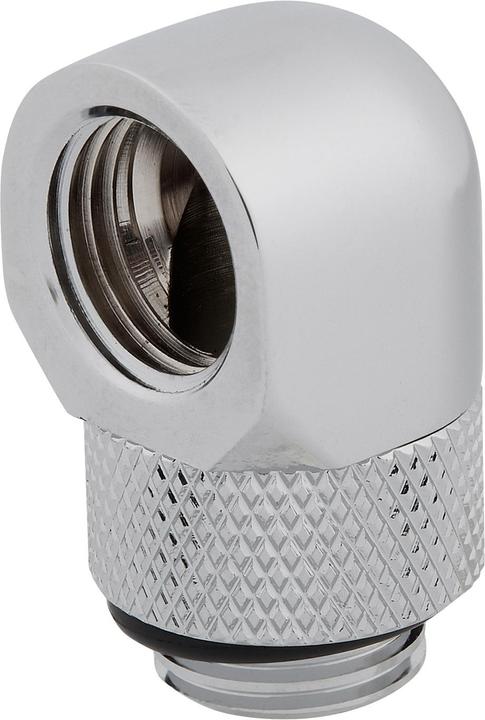
Corsair Hydro X Series 90° XF Adapter 2-pack
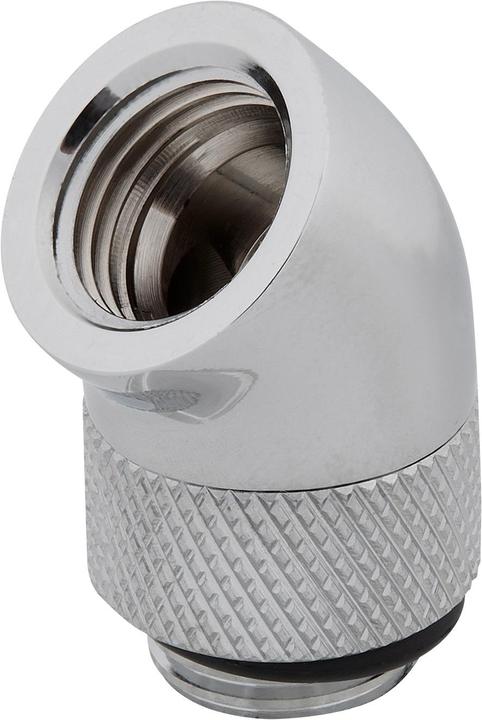


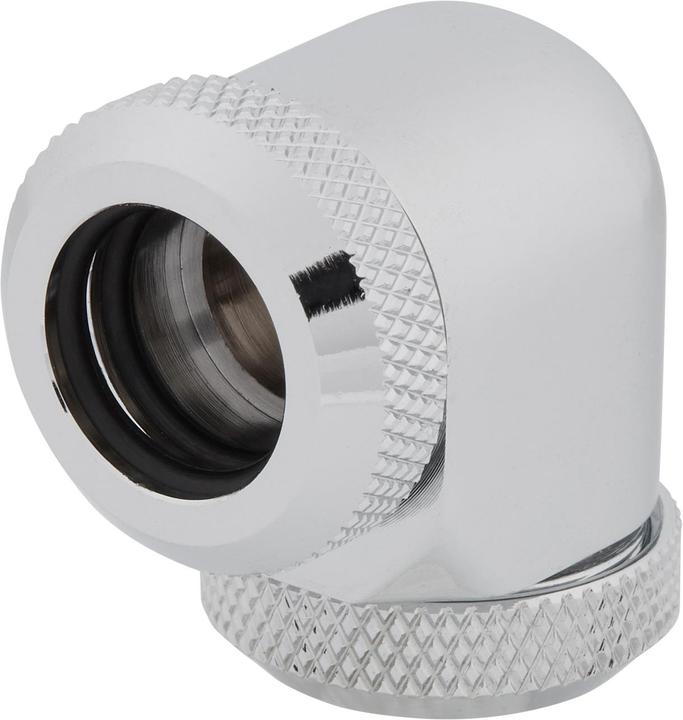

I deliberately chose the 90-degree fittings for the tubes because I'm not used to bending acrylic glass tubes - also known as PMMA. I've already tried it with the Streamer-PC, which we built and gave away last year, and only managed one bend per tube. For my planned loop, however, I need two 90-degree angles for each connection. That's why I'm planning a 90-degree fitting for the second one. It would be nice if Corsair also offered PETG tubes in the future. I can handle them better. But that's fine for this build, as I'm working with colourless coolant and spraying the tubes. In contrast to PMMA, PETG is difficult to colour.
Before I start bending the tubes, I think about what is best to install where. As you can read in my review of the Fractal Meshify S2 case, I install the radiators at the top and bottom. I would prefer to mount the 240 radiator at the front, but unfortunately this is not possible in the Meshify S2 so that I can design the loop the way I want.
As I realise when screwing the fans onto the radiators, I can't place a screw in every hole. Two threads of the 360 radiator and one of the 280 radiator are defective. I just can't get the screws in. Fortunately, it only affects one screw per radiator, which is why I decide to work with only three screws instead of four for three fans. The loss of air pressure should be minimal and hardly affect the cooling performance. Nevertheless, it is annoying that both radiators have such a defect. How this got through quality control is beyond me. Even if Corsair doesn't manufacture the radiators itself, a little more control would be desirable.

The next little annoyance during assembly comes when attaching the reservoir. I want to attach this to the lower radiator. Corsair supplies the brackets. I screw one to the pump from below, which I'll call the pump-side bracket from now on. I attach the other one to the fan, which I'll call the fan-side bracket from now on. If I were to screw the reservoir and pump to the front fans, there would be no problem. The back of the pump-side bracket can be easily attached to the fan-side bracket. However, the underside of the pump-side bracket has the wrong holes and I can't attach the pump to the fan-side bracket with any of the screws supplied. I therefore have to drill out the holes on the underside of the pump-side bracket and attach them to the fan-side bracket with nuts. It's great that Corsair includes all the brackets. In a revised version, however, it would be even better if everything was also correct for mounting from below.


One last point of criticism that I noticed during assembly concerns the fittings: they hold together really well, but I'm missing replacement sealing rings. I lost a seal in the heat of the moment. Only then did I realise that Corsair doesn't supply replacements in the packs. Alphacool does this and Corsair would do well to follow suit.
Other than that, everything is great. I particularly like the easy installation of the CPU block. With my previous Alphacool block, installation was a lot more tedious. Mounting the GPU block on the graphics card is also a breeze thanks to the thermal pads already attached.

For RGB fans, it should also be mentioned that the cable on the reservoir - as feared in part 1 of the review - is difficult to hide. How RGB king Corsair - I'll just call the manufacturer that for now - was able to choose such a poor placement is beyond me. The manufacturer needs to think about a different placement here. I therefore deliberately do without the flashing lights on the reservoir and remove the RGB ring. At least it's cool that this is possible.
Which brings us to the customisations. I call them customisations because "modifications" is a bit of a stretch for what I've done. In part 1 of the Hydro-X review, I promised to tell you why my pump/reservoir and CPU block are silver in colour. I want to give my build a uniform look. I'm basing this on the colour of the cooling ridges on the Corsair Dominator Platinum RAM. The comb above the inlet and outlet ports of the GPU block has the same colour as the RAM. Unfortunately, I can't find a spray can in exactly this colour, which is why I paint the combs of the GPU block and RAM, the CPU block, the pump/reservoir combo and the heat sinks of the mainboard silver.

I spray the tubes anthracite. To do this, I first bend them and then sand them with a fine sanding sponge. Then I apply two or three coats of paint and the anthracite tubes are finished. It looks sexy and stands out from the rest of the components.
Nothing in common with the Hydro-X-Series, but still worth mentioning, are the other small adjustments:
I can give my build a customised look without much effort.
This is the finished loop:

I pull the tubes from the pump/reservoir combo left into a 90 degree bend upwards, into a 90 degree fitting and then right into the GPU block. The whole process is repeated for the GPU block: Out, into a 90-degree bend, diagonally towards the left into a 90-degree fitting towards the rear on the CPU block. From there, it goes out towards the front into a 90-degree fitting, towards the left and then a 90-degree bend upwards into the radiator. Then it goes into the longest tube I have ever bent: From the very top left straight down to just before the power supply panel into a 90 degree bend and then all the way to the right into a 90 degree fitting down into the radiator. From the lower radiator, it then goes via various fittings - again: I can't cope with PMMA for bending - upwards into a tube that leads into the reservoir in a 180-degree bend.
I fill the loop and everything seems fine. After about five minutes, I experience my own personal horror scenario: a few drops of coolant emerge from the tube with the 180-degree bend.

I take a closer look and sure enough, there's a crack right at the top of the bend.
What happened?
I suspect that I was a bit hasty when bending it, didn't heat the outside of the tube enough and went over to bending it too quickly. As a result, the material warped considerably and the outer wall lost stability. When I then installed the tube, the outside must have finally broken through.

This is annoying, but at least only the tube is broken. And the whole thing has one advantage: I can test how well the loop drains straight away. Once the water has been drained, I remove the tube, bend a new one and spray it. Apart from time, I've lost nothing.
When filling the second time, I notice that the flow sensor doesn't always move and when it does, it does so very slowly. The part always seems to block itself. If I look at the flow into the reservoir, my loop works fine. It's a shame that the part doesn't work properly, I like the idea of the flow sensor.
Once the loop is filled and there is enough air outside, I look at the pump in the BIOS settings. If I turn it up fully, the flow sensor turns much faster. If the pump is only operated via Molex, it seems to run on a low flame. At 100 per cent power, the sensor turns faster, but keeps blocking. For the tests, I run the pump with MSI's Smart Fan Control activated. This means that it runs faster or slower depending on the temperature of the CPU. After the tests, I always let it pump at maximum and regulate the temperature via the fan speed.
In Windows, I want to use iCue, the software for controlling the fans and RGB from Corsair, to set the fans to "Balanced" for the tests. Unfortunately, the Commander Pro, the controller, is not recognised by the program. What's going on? I take a look at the controller and realise that the USB cable is not connected to the mainboard. I've forgotten that ...

Awkward, awkward. But that's not all: as I've mounted the graphics card vertically, I can't reach the USB port on the mainboard. So I have to dry out the loop, remove the tubes on the graphics card, unscrew the vertical GPU bracket and then plug in the USB cable. Then repeat everything in reverse order. But as they say: All good things come in threes. Then I'll just fill the loop for the third time.

My Ryzen 5 2600 and the 2070 Super both don't run particularly hot. When idling with the side window closed, both are around 28 degrees Celsius. The fans are set to "Balanced". I log the temperatures with Core Temp for the CPU and GPU-Z for the GPU. The reservoir sensor in iCue shows me around 26.3 degrees Celsius for the coolant.


For the test, I start Heavy Load and Fur Brand. For Heavy Load, I select "Utilise processor" and start the tool. In Fur Mark, I start the GPU stress test with 1080p resolution. This pushes my system to the limit. I let the test run for half an hour and observe the temperatures. The CPU and GPU get a lot hotter immediately after starting the tests. After about a minute, the GPU is at 54 degrees Celsius and the CPU at 48. After ten minutes, the CPU is at 51, the GPU at 57 and the temperature of the coolant at 30.7 degrees Celsius. Neither the CPU nor the GPU get any hotter in the 30 minutes. The coolant stabilises at around 32.5 degrees.


To see what the whole thing looks like in a slightly more realistic scenario, I play "Rise of the Tomb Raider" for twenty minutes. The CPU only warms up to 50 degrees Celsius at most, and only for a short time. Most of the time it runs at around 41 degrees. The GPU runs warmer than when tested with Fur Mark: it averages 66 degrees Celsius. A look at the GPU-Z reveals why this is the case: In the Fur Mark test, the GPU clocked at an average of 1665 MHz. In the game it was around 1900 MHz. Fur Mark seems to limit the clock to 1665 MHz.
All in all, I am very satisfied with the cooling performance of the Hydro-X-Series. With a little fine-tuning of the fans and pump - I left everything on "Automatic" - even lower temperatures are certainly possible.
The Hydro-X-Series is a successful step into custom watercooling from Corsair in terms of workmanship and performance. Installed and - I hate to admit it - with a little RGB, the parts look really cool. However, the manufacturer still needs to make improvements in certain areas so that the user experience is perfect.
From big data to big brother, Cyborgs to Sci-Fi. All aspects of technology and society fascinate me.