Marks on your camera sensor – how to get rid of them
If you notice marks on your camera sensor, you can certainly try to clean them off yourself. However, it’s not altogether straight forward or without risk. This is what happened when I gave it a go.
Over time, dust and dirt builds up on your camera sensor. That’s pretty much unavoidable on any device. But you’ll find cameras with interchangeable lenses are more prone to this. Those without a mirror in particular can become dust magnets because in these cameras the sensor is right behind the lens.

But before you reach for the scrubbing brush, vinegar and green cloth, bear in mind the sensor is quite delicate. It’s not as tough as the lens, for instance. So if you go in with all guns blazing, or rather, with a glasses cloth you’ve mistaken for a sander, you risk dust particles scratching the surface. If that happens, the camera won’t be fit for anything but the bin. Apart from anything else, this way of cleaning isn’t very effective.
What can you do instead, I hear you ask. You want to take it one step at a time. The first few methods are easy and fairly risk-free. Then things step up a gear.
Diagnosis: Is the problem really with the sensor?
You only see marks on the sensor when the aperture is closed. Do a test photo in A-mode (aperture priority) of a white surface using the smallest aperture (e.g. f/22). The photo might be blurred and out of focus. In fact, that’s even a good thing. If you see marks on the photo, take another shot using a different lens. If the marks are still there, you know they’re on the sensor.

With single-lens reflex cameras (SLRs), the dirt might be on the mirror or the prism system (the second mirror above). In which case, you’d only see it on the viewfinder, not on the photos.
On small camera screens, you’ll only see marks if they’re particularly prominent (big and dark). Or if you zoom in on the right section. That’s why it’s best to check your test photo on the computer. Any dirt or marks are most noticeable when you activate the area repair tool and the option «show areas» in the Lightroom.
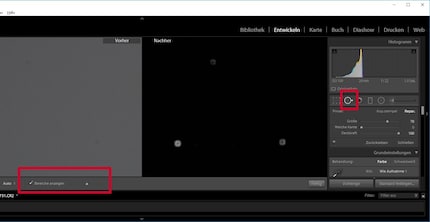
If you’re dealing with a system camera without a mirror, unscrew the lens and you’ll get a direct view of the sensor. Even with this type of camera, you can rule out dirt on the lens by taking a photograph of a white surface with two lenses and a small aperture.
Method 1: self-cleaning
Most cameras can clean the sensor themselves when you give them a quick shake. This works fairly well as long as the dirt isn’t stuck to the sensor and instead is just flying around as dust particles. You’ll find sensor cleaning in the camera menu.
Method 2: blowing it out
If that doesn’t work, your next option is to blow out the dirt with an air blower. I don’t mean one for cleaning the chimney; there’s a special one for cameras. It won’t cost you an arm and a leg, it won’t break anything and, it goes without saying, you can use it as often as you want.

Remove the lens, hold the camera with the opening facing downwards and blow from below onto the sensor.
The difference between cameras with and without a mirror: with single-lens reflex cameras (SLR), you have to select from the camera menu the option for manual cleaning before you start anything. To do that, the battery has to be fully charged or almost fully charged. The camera folds up the mirror and opens the shutter. It’s only then that you can even get to the sensor, which is placed relatively far back in the camera.
When it comes to mirror-free cameras, none of that is necessary. You just unscrew the lens and the sensor is already there.
Manual cleaning
If there are still marks on the sensor after you’ve used the blower, you need to clean it by hand. You can either do this yourself or have it done professionally.
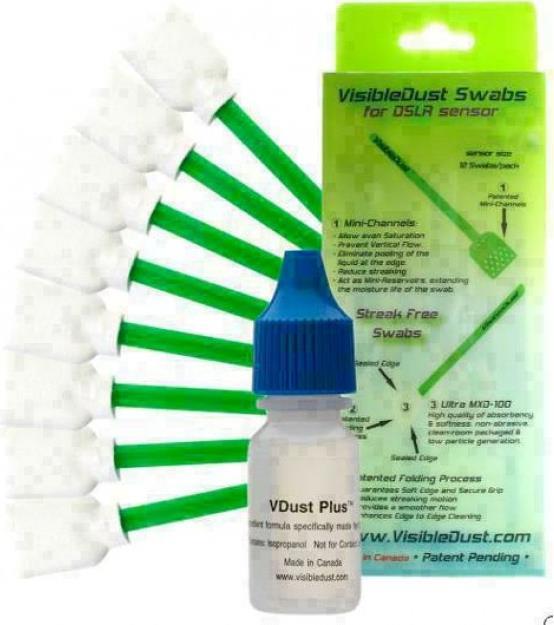
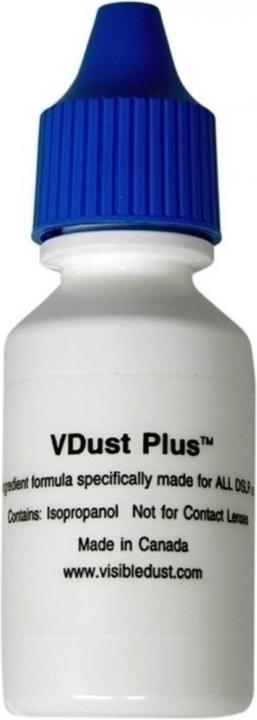
In our shop you’ll find wet cleaning kits with 12 so-called swabs. These are like handles that have a kind of cleaning cloth on the end and are as wide as the sensor. They let you clean the sensor with one wipe to prevent any streaks. Before you get to work, don’t forget to put two to four drops of cleaning fluid on the end of the swabs.
Naturally, you’ll need to make sure you order swabs that match the size of the sensor. The number gives the crop factor: 1.0 is for full-frame sensors; 1.5 for APS-C sensors.
In the video, I’m cleaning the Sony A7S II. This is a full-frame camera, which is why I needed the set with crop factor 1.0.
I’d never cleaned a sensor myself before until I was filmed giving it my best attempt. The sensor turned out to be very dirty. While most of the dirt went away, I couldn’t get the surface 100% clean. I also ended up needing about half the swabs.
Basically, you have to bear in mind that a set of 12 swabs won’t do you for 12 rounds of cleaning. If you’re unlucky, you’ll only get one or two cleans out of them. On the other hand, the cleaning fluid will last you more than 12 times. That’s why we made it possible to buy swabs without cleaning fluid.
Before cleaning, it’s best to do another round with the air blower. You want to vacuum the base as well before you wipe it with the damp swab. After each round, make sure to take a test photo to check if the sensor is clean yet. To help you see on the small camera screen, try to remember where the worst of the dirt was and zoom in on that area.
If the marks still haven’t gone away, don’t try to give them a helping hand with more cleaning fluid or more rounds with the blower. That will only do more harm than good, as it could start to make the sensor streaky.
According to the instructions, you should be using a new handle for every round of cleaning. That stands to reason. I mean, who wants to go smearing the dirt they’ve just removed back onto the sensor? But at the same time, I get the feeling this could become an expensive affair if I had to deal with stubborn marks quite often.
Alternative: get it cleaned professionally
After a rather anticlimactic cleaning effort, the alternative of paying a professional to sort it out was becoming increasingly appealing. Obviously, it depends on the price and how often you need to have it done.
The few photography shops left might be your first point of call. On the whole, they’re well equipped for the job and aren’t new to this kind of thing.
You can send your Nikon camera directly to Nikon Switzerland or drop it in. It costs about 70 Swiss francs (without postage).
We’re going to head down to one of the photography shops and see what they do. Maybe we’ll even pick up the odd new tip. Watch this space.
Update
A number of people have told me you need to clean the sensor with a dry sensor brush before you use a damp swab.
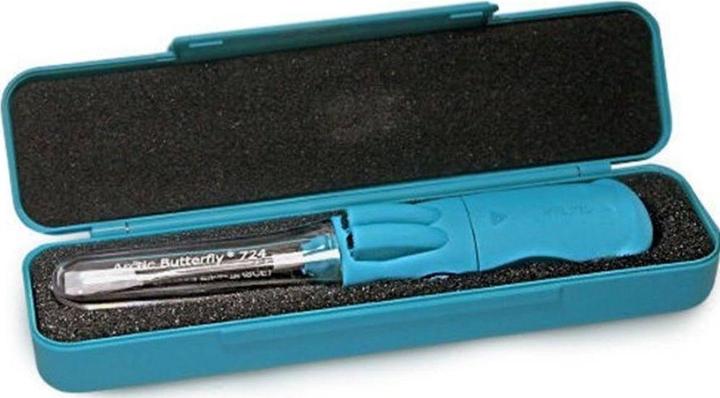
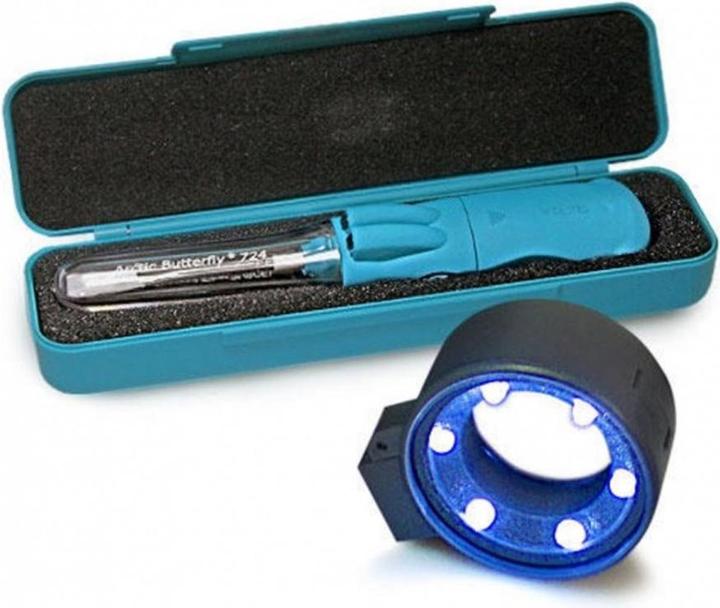
Evidently, the advantage this has over wet cleaning is that you don’t risk scratching anything. Reader Josef Hertli recommended using the sensor brush in combination with the sensor magnifying glass. He sent us an email to explain why:
If there are any oily or fatty deposits on the sensor, you should take the camera to a specialist dealer or back to the manufacturer. As laymen, we would probably just make it worse if we tried to sort it out ourselves.
Apparently you can see these deposits with a magnifying glass. That’s something I still need to check out for myself.
My interest in IT and writing landed me in tech journalism early on (2000). I want to know how we can use technology without being used. Outside of the office, I’m a keen musician who makes up for lacking talent with excessive enthusiasm.

